Support
Find an answer to your technical question
Manuals
Element manuals
Manual | LightMark
Manual | Controlling X-Wave LEDs
Manual | Controlling Selection Guide LEDs
Product Manual | X-Eye Presence & Proximity
Product Manual | X-Eye Presence & Airbutton
Product Manual | X-Eye Motion
Product Manual | X-Eye Gender
Product Manual | XR-Range RFID
Product Manual | XR2-RFID Driver
Product Manual | XF-P3 Wireless pick-up sensor
Product Manual | XZ Light sensor
Product Manual | XZ Color sensor
Product Manual | XZ Angle sensor
Product Manual | XZ Weight sensor shelf type
Product Manual | XZ Weight sensor bar type
Product Manual | XE Ambient light sensor
Product Manual | XE Temperature sensor
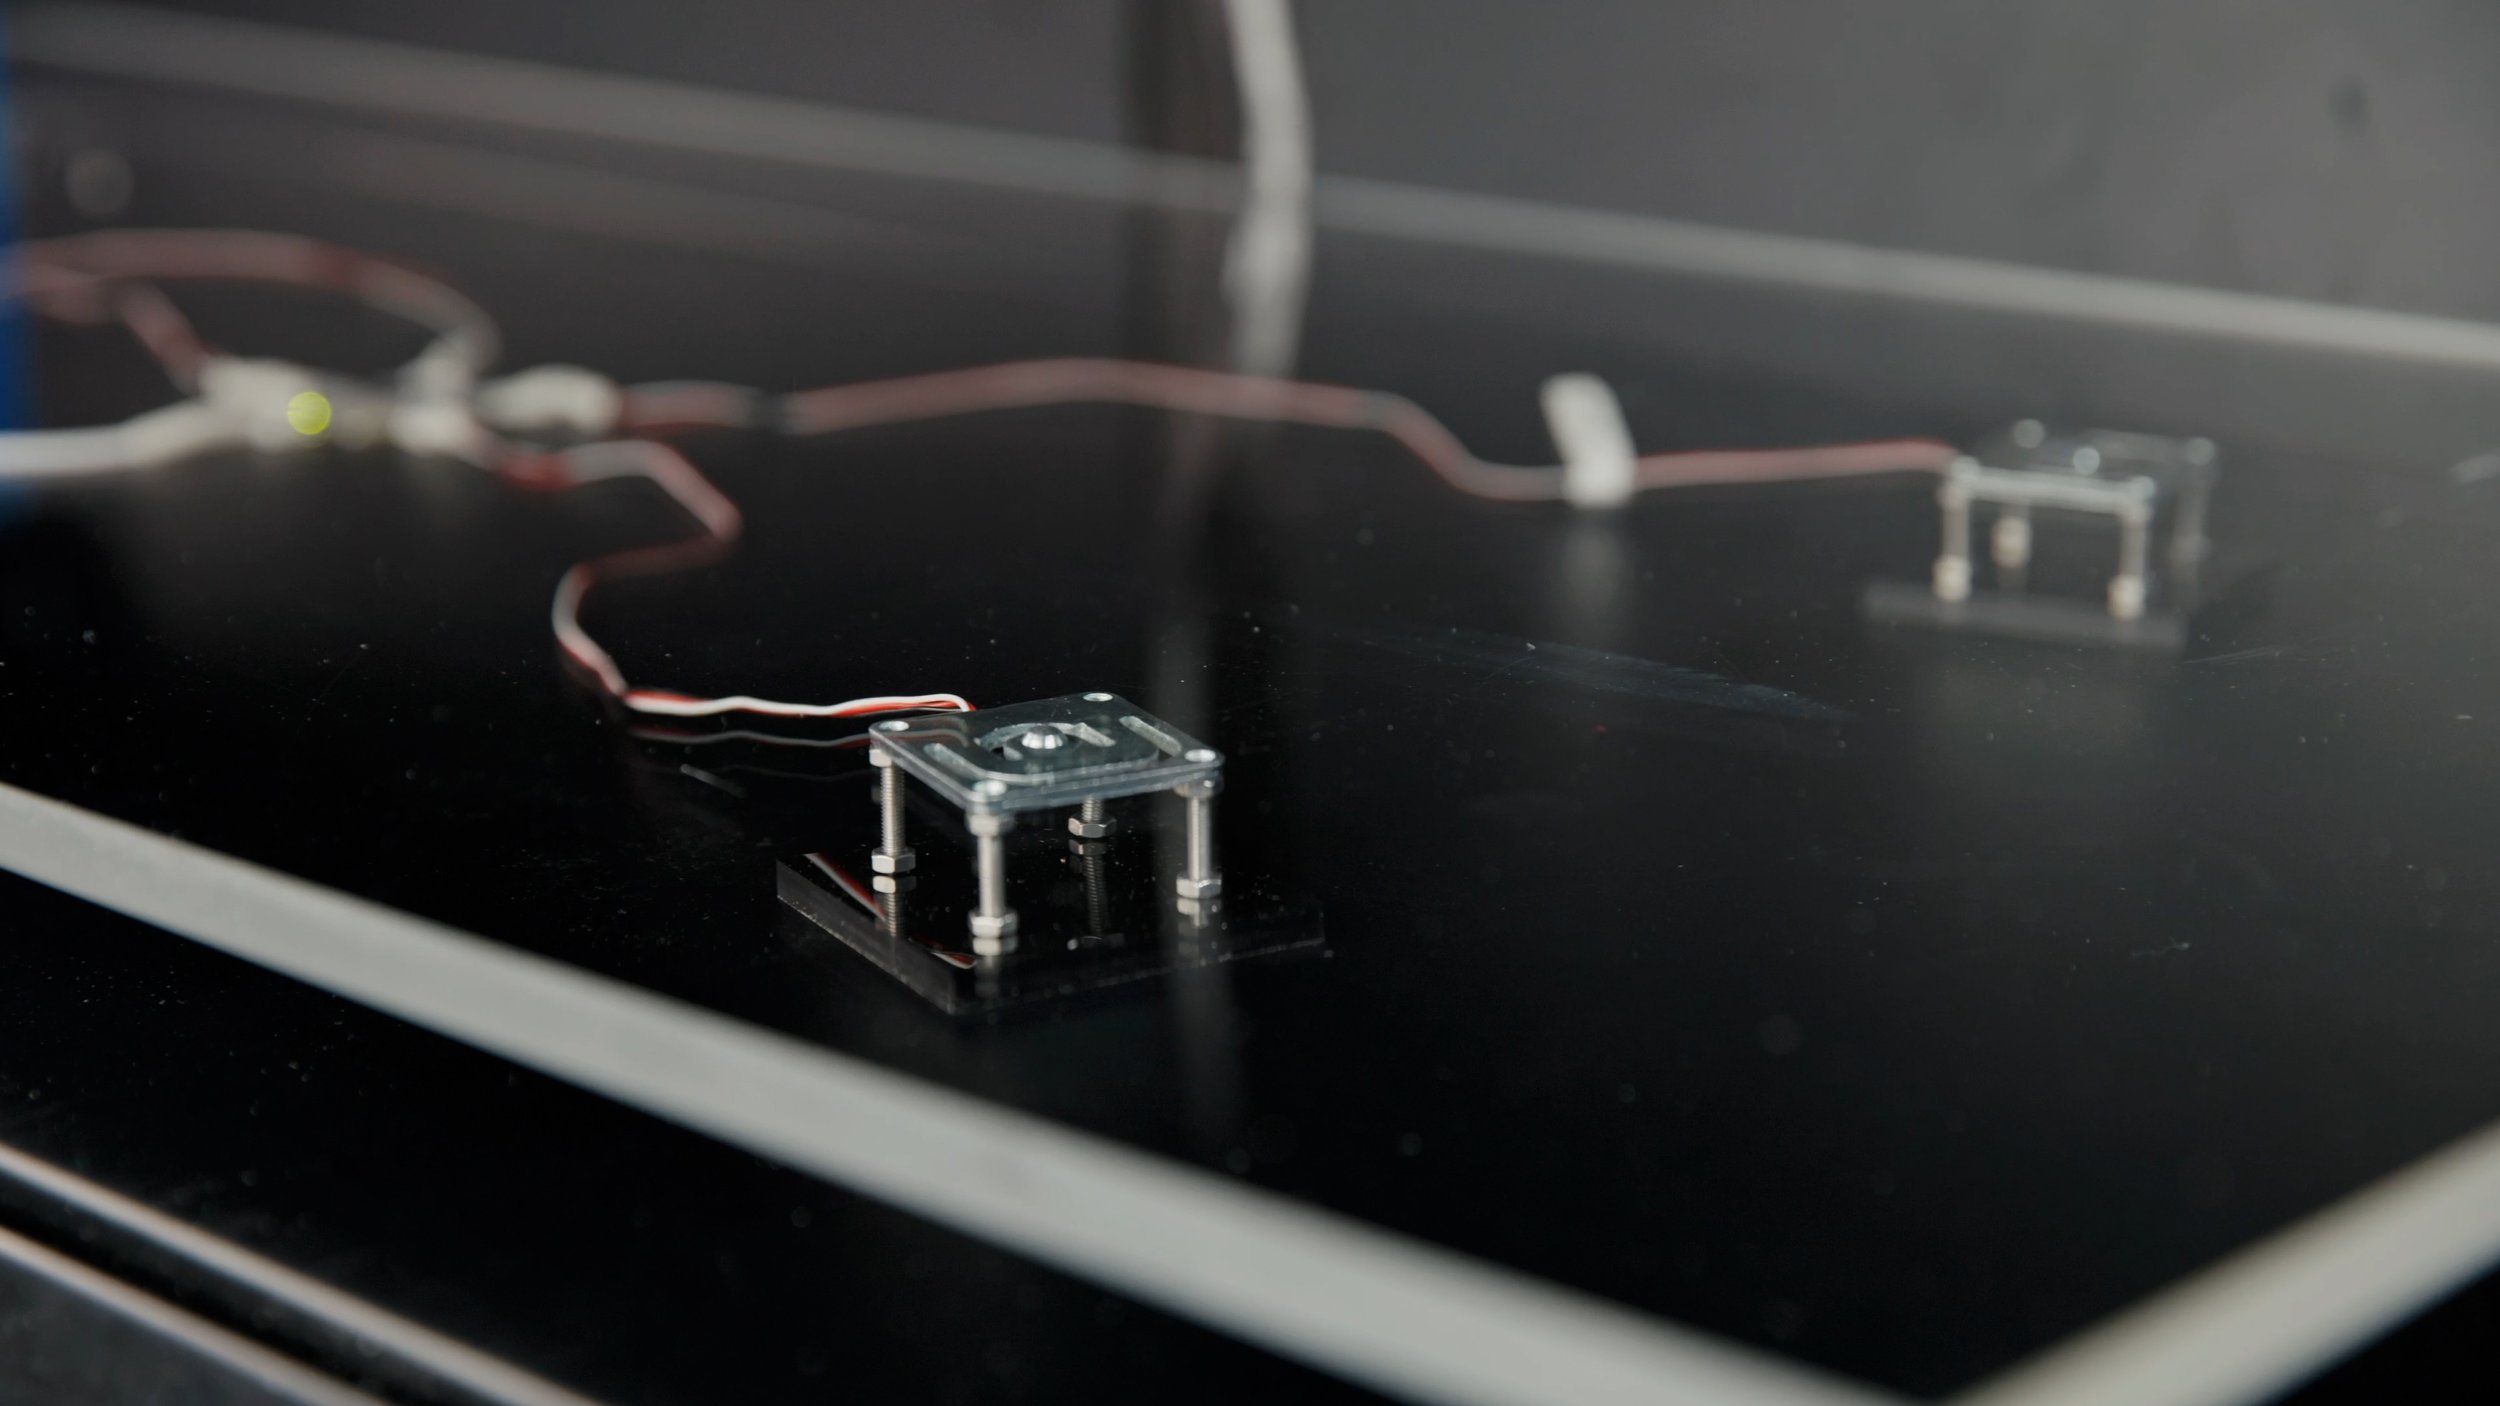
Product Manual | X-Snapper magnetic pick-up
Product Manual | X-Dot I/O interface
Product Manual | X-Dot Analog interface
Product Manual | X-Dot Encoder interface
Product Manual | X-Dot X wired pick-up sensor
Product Manual | XT Touch buttons
Product Manual | XT Push button interface
Product Manual | XT-EF Series Air Gesture
Product Manual | XQ Lidar sensor
Product Manual | XV HandGesture sensor
Controller Quick Start guides (XN and XC)
Quick Start Guide | XN-185
Quick Start Guide | XN-165
Quick Start Guide | XN-180
Quick Start Guide | XN-135
Quick Start Guide | XN-125
Quick Start Guide | XN-115
Quick Start Guide | XN-135M3
Quick Start Guide | XN-135M8L
Quick Start Guide | XN-135M8S
Quick Start Guide | XC-101
Quick Start Guide | XC-720
Quick Start Guide | XC-741
Quick Start Guide | XC-748
Quick Start Guide | XC-760
Quick Start Guide | XC-820
Quick Start Guide | XC-841
Quick Start Guide | XC-847
Quick Start Guide | XC-860
Quick Start Guide | XC-931
Quick Start Guide | XC-937
Quick Start Guide | XC-938
Quick Start Guide | XC-941
Quick Start Guide | XC-947
Quick Start Guide | XC-948
Controller Quick Start guides (XM)
Quick Start Guide | XM-350 with EM-4 expansion
Quick Start Guide | XM-350 with EM-5 expansion
Quick Start Guide | XM-350 with EM-6 expansion
Quick Start Guide | XM-350 with EM-8 expansion
Quick Start Guide | XM-350 with EM-F4 expansion
Quick Start Guide | XM-350 with EM-F8 expansion
Quick Start Guide | XM-350 with SM-100
Quick Start Guide | XM-350 with SM-115
Quick Start Guide | XM-350 with SM-120
Quick Start Guide | XM-350 with SM-125
API manual
API manual | 2022 Q3
Manual | UDP Controllers
Manual | NEO (evaluation samples)
Manual | NEO (production release)
Application notes
Application note | LED lighting
Release notes
Release note | Updated USB communication chip
Partner integration
Brightsign (BrightAuthor) – setup manual
Brightsign (BA Connected) – setup manual
Intuiface – setup manual
Signagelive – setup manual
SmartThings – setup manual
Safety and Installation Requirements
FAQ
Generic setup questions
-
The Nexmosphere platform can be connected via USB to:
BrightSign players
Samsung SoC (Tizen 7.0)
Philips (PPDS) SoC screens
Intel-based PCs
Android players
Linux-based players
-
To create an interactive digital signage presentation with Nexmosphere, you need to work with a compatible CMS or software package. On our partner page, we’ve listed all verified options currently known to us.
-
To do a quick test, follow these steps:
Connect the sensors to the controller
Connect the controller to a PC
Trigger the sensor
Check if the white status LED on the controller blinks
If you want to see the live sensor commands, we recommend to download a simple terminal program on your PC, such as Termite
BrightSign-Nexmoshere setup questions
-
If you have implemented the Nexmosphere API commands in your BrightSign presentation, but the content is not changing, please check the following:
Make sure the Nexmosphere setup is connected to the BrightSign player, before powering the player
Check in your BA:Connected presentation that CR+LF is set as Send EOL and Receive EOL for port 2
Make sure your BrightSign runs BrightSignOS 8.2.82 or higher.
Please see the Nexmosphere-BrightSign setup manual for step-by-step instructions.
